Learn to create a Spring WebMVC application project, including dependencies, initial configurations and deploying the application in the server.
1. Creating Project Skeleton
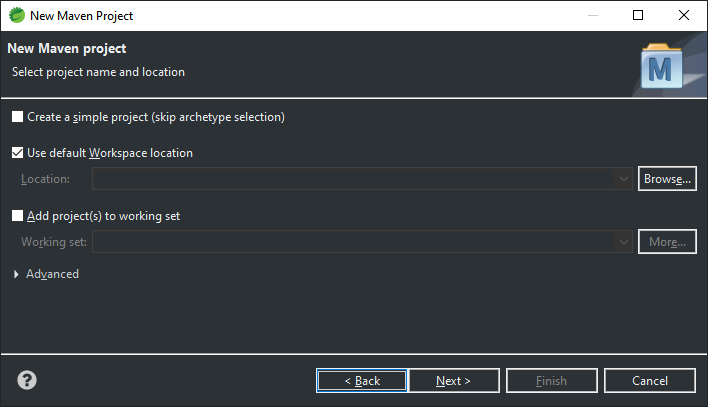
The simplest way to create the web application skeleton project (necessary files and folder) is using your favorite IDE and following new project creation steps.
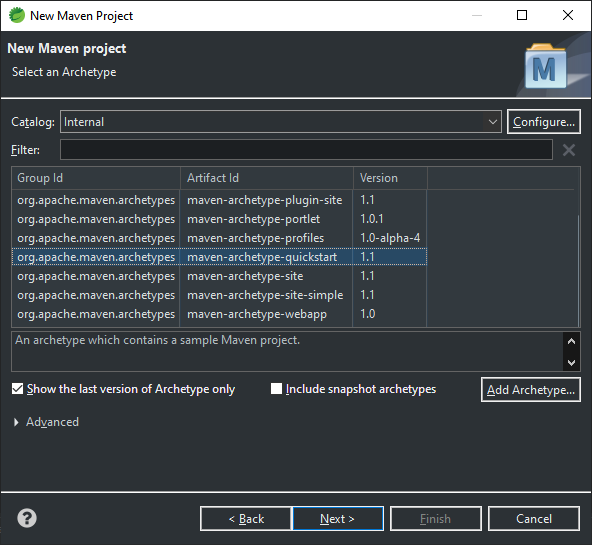
We are using Eclipse, and we will use Maven maven-archtype-webapp to generate the project structure.
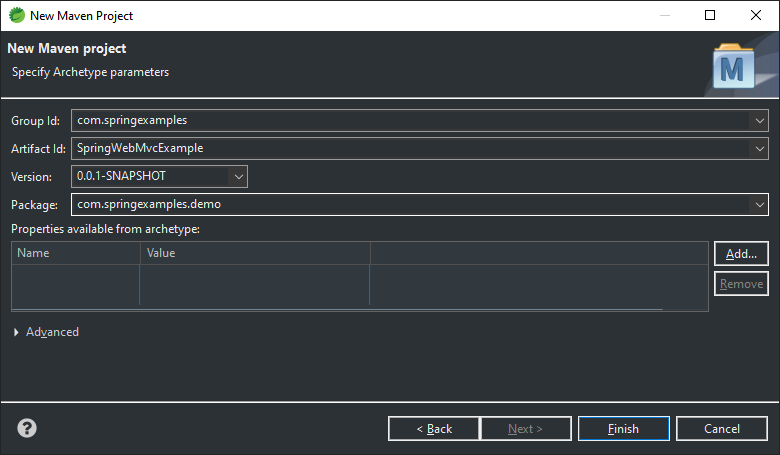
Now click on Finish button to generate the project.
2. Configure Dependencies
Nest we need to include Spring MebMVC and other needed dependencies in the project. Since it is an MVC application, we are configuring the following dependencies.
- Spring WebMVC
- Servlet API
- Thymeleaf
- JUnit
- Tomcat maven plugin
The tomcat maven plugin will help in quickly testing the application in a running server instance.
<properties>
    <failOnMissingWebXml>false</failOnMissingWebXml>
    <project.build.sourceEncoding>UTF-8</project.build.sourceEncoding>
    <spring.version>5.3.14</spring.version>
    <servlets.version>3.1.0</servlets.version>
</properties>

<dependencies>
    <dependency>
        <groupId>org.springframework</groupId>
        <artifactId>spring-webmvc</artifactId>
        <version>${spring.version}</version>
    </dependency>
    <dependency>
        <groupId>javax.servlet</groupId>
        <artifactId>javax.servlet-api</artifactId>
        <version>${servlets.version}</version>
        <scope>provided</scope>
    </dependency>
    <dependency>
        <groupId>org.thymeleaf</groupId>
        <artifactId>thymeleaf</artifactId>
        <version>3.0.14.RELEASE</version>
    </dependency>
    <dependency>
        <groupId>org.thymeleaf</groupId>
        <artifactId>thymeleaf-spring5</artifactId>
        <version>3.0.14.RELEASE</version>
    </dependency>
    <dependency>
        <groupId>junit</groupId>
        <artifactId>junit</artifactId>
        <version>3.8.1</version>
        <scope>test</scope>
    </dependency>
</dependencies>

<build>
    <sourceDirectory>src/main/java</sourceDirectory>
    <resources>
        <resource>
            <directory>src/main/resources</directory>
        </resource>
    </resources>
    <plugins>
        <plugin>
            <artifactId>maven-compiler-plugin</artifactId>
            <version>3.5.1</version>
            <configuration>
                <source>16</source>
                <target>16</target>
            </configuration>
        </plugin>
        <plugin>
            <groupId>org.apache.tomcat.maven</groupId>
            <artifactId>tomcat7-maven-plugin</artifactId>
            <version>2.2</version>
            <configuration>
                <path>/</path>
            </configuration>
        </plugin>
    </plugins>
</build>
3. DispatcherServlet Configuration
Servlets 3 specification allows writing the servlets configuration using the Java classes.
WebApplicationInitializer has been used to configure the ServletContext programmatically as opposed to (or possibly in conjunction with) the traditional code web.xml approach.
public class AppInitializer implements WebApplicationInitializer {

  @Override
  public void onStartup(ServletContext container) throws ServletException {
    AnnotationConfigWebApplicationContext context = new AnnotationConfigWebApplicationContext();
    context.scan("com.springexamples.demo");
    container.addListener(new ContextLoaderListener(context));

    ServletRegistration.Dynamic dispatcher = container.addServlet("webmvc",
      new DispatcherServlet(context));
    dispatcher.setLoadOnStartup(1);
    dispatcher.addMapping("/");
  }
}
4. Controller and Views
Create a simple MVC controller using @Controller and @GetMapping annotations.
@Controller
public class HomeConroller {
  @GetMapping("/home")
  public String userForm(Locale locale, Model model) {
    model.addAttribute("message", "Hello World !!");
    return "home";
  }
}
The message sent from the controller will be rendered using the home.html in the browser.
<!DOCTYPE HTML>
<html xmlns:th="http://www.thymeleaf.org">

<head>
	<title>Getting Started: Spring WebMVC Application</title>
	<meta http-equiv="Content-Type" content="text/html; charset=UTF-8" />
</head>

<body>
	<p th:text="'The App says: ' + ${message} + '!'" />
</body>

</html>
We are using the Thymeleaf as template engine for rendering the views. We need to configure its ThymeleafViewResolver for rendering the views by name.
@Configuration
@EnableWebMvc
@ComponentScan(basePackages = "com.springexamples.demo.web")
public class WebMvcConfig implements WebMvcConfigurer, ApplicationContextAware {

  private ApplicationContext applicationContext;

  @Override
  public void setApplicationContext(ApplicationContext applicationContext)
    throws BeansException {
    this.applicationContext = applicationContext;
  }

  @Bean
  public ViewResolver viewResolver() {
    ThymeleafViewResolver resolver = new ThymeleafViewResolver();
    resolver.setTemplateEngine(templateEngine());
    resolver.setCharacterEncoding("UTF-8");
    return resolver;
  }

  @Bean
  public ISpringTemplateEngine templateEngine() {
    SpringTemplateEngine engine = new SpringTemplateEngine();
    engine.setEnableSpringELCompiler(true);
    engine.setTemplateResolver(templateResolver());
    return engine;
  }

  private ITemplateResolver templateResolver() {
    SpringResourceTemplateResolver resolver = new SpringResourceTemplateResolver();
    resolver.setApplicationContext(applicationContext);
    resolver.setPrefix("classpath:/templates/");
    resolver.setSuffix(".html");
    resolver.setCacheable(false);
    return resolver;
  }
}
5. Demo
To run the application using the configured tomcat-maven-plugin, run the application as the maven goal tomcat7:run.
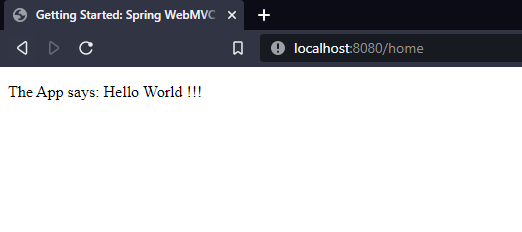
mvn build tomcat7:runThis will start the embedded server and deploy the application into it. We can test the application on URL: http://localhost:8080/home
6. FAQs
6.1. TemplateInputException: An error happened during template parsing
This exception is mostly because the view resolver is not able to locate the template files in the resources or views folder.
To solve the issue, append the 'classpath:‘ in the resolver.setPrefix() method.
resolver.setPrefix("classpath:/templates/");6.2. ServletContextTemplateResolver has no constructor with ZERO parameters
Using ServletContextTemplateResolver is not recommended anymore. Use the SpringResourceTemplateResolver class which is the recommended approach for Thymeleaf 3.x onwards.
private ITemplateResolver templateResolver() {
    SpringResourceTemplateResolver resolver = new SpringResourceTemplateResolver();
    resolver.setApplicationContext(applicationContext);
    resolver.setPrefix("classpath:/templates/");
    resolver.setSuffix(".html");
    resolver.setCacheable(false);
    return resolver;
  }
7. Conclusion
In this tutorial, we learned to create a spring webmvc application from scratch. we also learned to run the application with the tomcat maven plugin for quick testing.
The source code of the examples here is over on GitHub.